What is OpenWater?
OpenWater is an application used by organizations to maintain and manage applications, reviews, and evaluations. In my case it was used for managing awards for different programs. It helps streamline workflows like form submissions, reviewer assignments, scoring, and decision-making.
Many organizations use Salesforce as their central CRM to store, track, and analyze data. So here we had to sync data between OpenWater and Salesforce, ensuring all applicationrelated information is available in one place for reporting, automation, and further processing.
Why would we store OpenWater Data in Salesforce?
We can use many different platforms present in the market for storing information related to a third party application. In my case it is salesforce platform. Storing OpenWater data in Salesforce provides several advantages:
- Centralized Data Management — Keep all applicant and program-related data in one system
- Better Reporting & Analytics — Use Salesforce reports and dashboards for deeper insights
- Automation — Trigger flows, notifications, or approvals based on incoming data
- Integration with Other Systems — Salesforce can act as a hub for multiple integrations.
How can you setup a Pushback from OpenWater to Salesforce
One of the key features I worked on was setting up a pushback integration using the OpenWater Integration Hub. This allows data from OpenWater to be sent directly into Salesforce.
Here’s a simplified overview of the process:
1. Prepare Salesforce for Integration
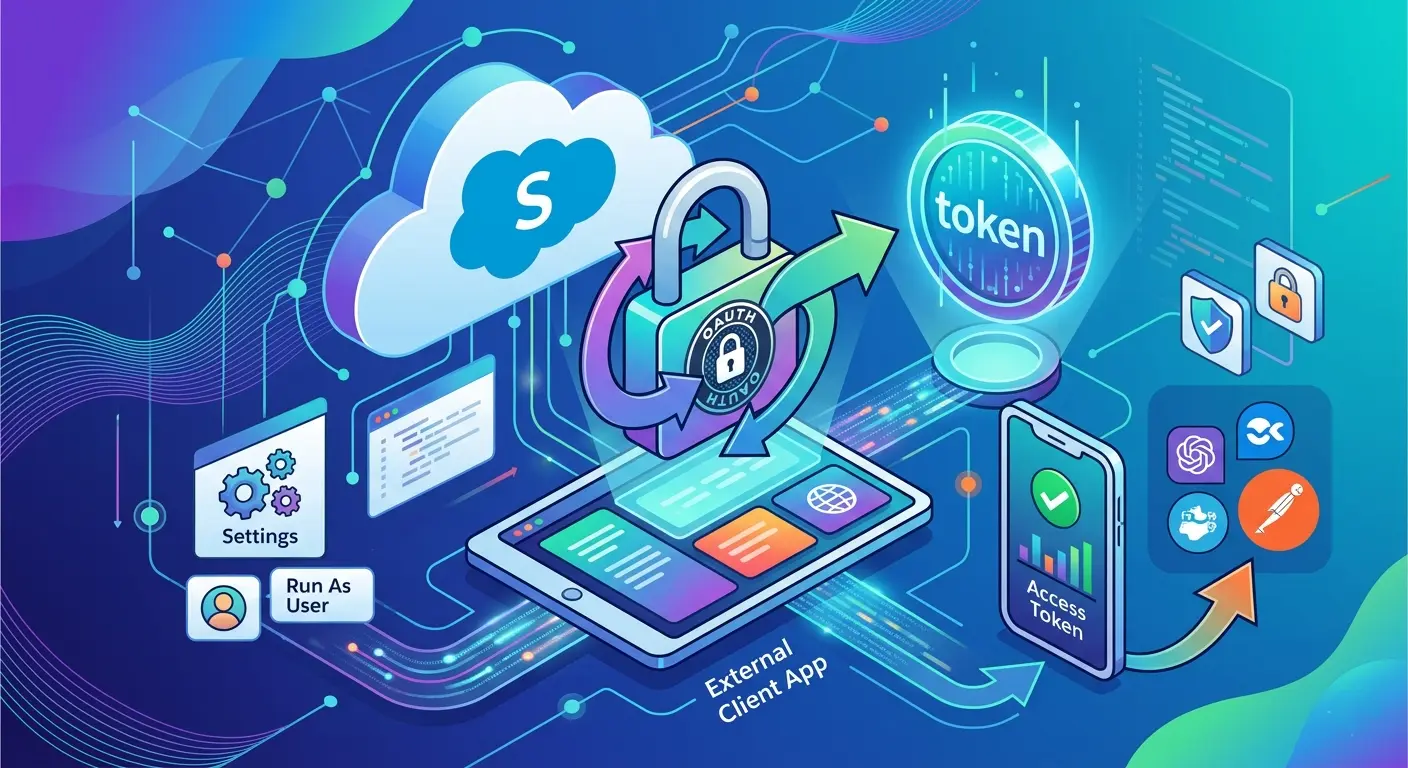
- Create a Connected App in Salesforce
- Enable OAuth settings
- Note down: Client ID, Client Secret
- Ensure the integration user has proper object and field permissions
2. Navigate to Integration Hub in OpenWater
- Go to Site Settings / Admin Panel
- Open the Integration Hub.
- Navigate to Connectors → Go to pushback → click on add.
- Select the CRM option to create a new
3. Configure Connection Details
- Enter Salesforce credentials: Client ID and Client Secret
- Token/Authorization endpoints.
- Test the connection to ensure successful authentication.
4. Select Program & Trigger Point
- Choose the program for which data should be pushed
- Also, it is important to select the round for which the application is being processed.
- Define when the pushback should trigger:
- On submission
- On status change
- On review completion
This helps control when data is sent to Salesforce.
5. Choose Salesforce Object
- Select the target object in Salesforce (Standard or Custom)
- Example: Contact, Opportunity
- Custom Application Object
6. Map Fields
- Map OpenWater fields to Salesforce fields
- Ensure:
- Correct data types
- Required fields are included
- Picklist values match
- To map the field, click on the initialize mapping option present on the field mapping section.
This is one of the most critical steps in the setup.
7. Handle Program-Specific Logic (if applicable)
- If multiple programs exist:
- Create separate pushbacks
- Or configure conditional mappings
8. Test the Pushback
- Submit a test record in OpenWater
- Verify:
- Record creation/update in Salesforce
- Field values are mapped correctly
9. Monitor & Debug
- Check logs in OpenWater
- Use Salesforce Debug Logs for errors
- Fix any mapping or permission issues
Common Issues & Errors to Watch Out For
While setting up this integration, I came across a few common challenges:
1. Authentication Errors
- Incorrect Client ID/Secret
- Expired or misconfigured OAuth settings.
Tip: Double-check credentials and scopes in your Salesforce Connected App.
2. Field Mapping Issues
- Mismatched field types (e.g., text vs number).
- Missing required fields in Salesforce.
- Also, duplicate field mappings. This becomes important when you have a large number of fields to be mapped and even the fields are not stored in a particular sequence.
Tip: Always validate field compatibility before mapping. If you are not able to identify the error through the error message, always check the logs thoroughly as it gives detailed information about how the data is being passed.
3. Data Not Pushing for Specific Programs
- Incorrect configuration for program-specific logic. These type of errors are difficult to debug, so at such situations it is preferable to check the logs and the configurations that are being set.
- Missing mappings for certain objects or fields.
Tip: Ensure each program has the correct configuration and mappings.
4. Permission Issues
- Salesforce user linked to the integration lacks access to objects/fields. It is important to check the access and permissions for the user for your pushback to work.
Tip: Assign proper profiles or permission sets.
5. Debugging Challenges
- Limited error visibility from OpenWater side. For most of the errors the pop-up message would only include the error code that is more aligned on the technical side and sometimes difficult to comprehend.
- In openwater, you don’t know if your pushback is having an error until you test it.
- It lets you save the pushback even when you have errors related to field mapping. So, in this case you don’t really get an idea if you have duplicate fields being mapped.
Tip: Use Salesforce debug logs and OpenWater logs together for better troubleshooting.
Final Thoughts
Working on this integration was a great learning experience. It helped me understand:
- How external systems communicate with Salesforce
- The importance of proper field mapping and authentication
- Real-world challenges in API-based integrations
If you’re working with platforms like OpenWater, setting up a pushback integration is a practical way to bring external data into Salesforce and unlock its full potential.